Check your phone before starting
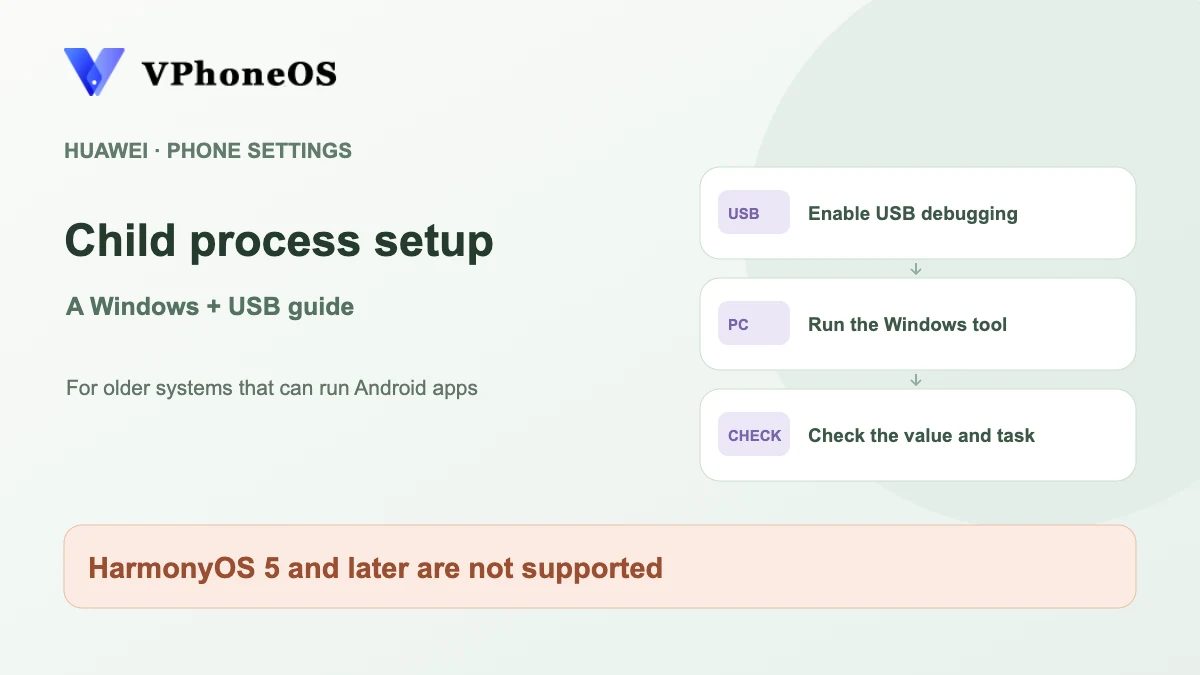
On some older Huawei systems, use the PC and USB method in this guide to check child process limits. HarmonyOS 5 and later are unsupported. Error 62 does not always mean this limit caused the problem.
Child processes are extra tasks started by the virtual machine. If your phone limits these tasks, the virtual machine may close. VPhoneGaGa / VPhoneOS does not support HarmonyOS 5 or later. This guide is only for older systems that can still install and run the Android app. Not every older system is compatible.
This PC tool increases the number of child processes allowed across your phone. It also turns off bulk updates to Android’s DeviceConfig settings. This sync setting can remain changed after a restart because the tool uses persistent mode. These changes affect the phone, not just VPhoneOS, and do not guarantee that a task will keep running.
Set up with a Windows PC and USB cable
Prepare your phone and PC, connect them, run the tool, then check the result.
First time: enable Developer options
Phone Settings → About phone → HarmonyOS version
For HarmonyOS 2–4, open Settings, search for About and open About phone. Tap HarmonyOS version seven times. Enter your phone’s screen-lock code if asked. After developer mode is enabled, return to Settings → System & updates → Developer options.
Check the result Developer options is available under System & updates.
If Developer options is already available, skip the version taps and continue with USB debugging below. The image is a navigation diagram.
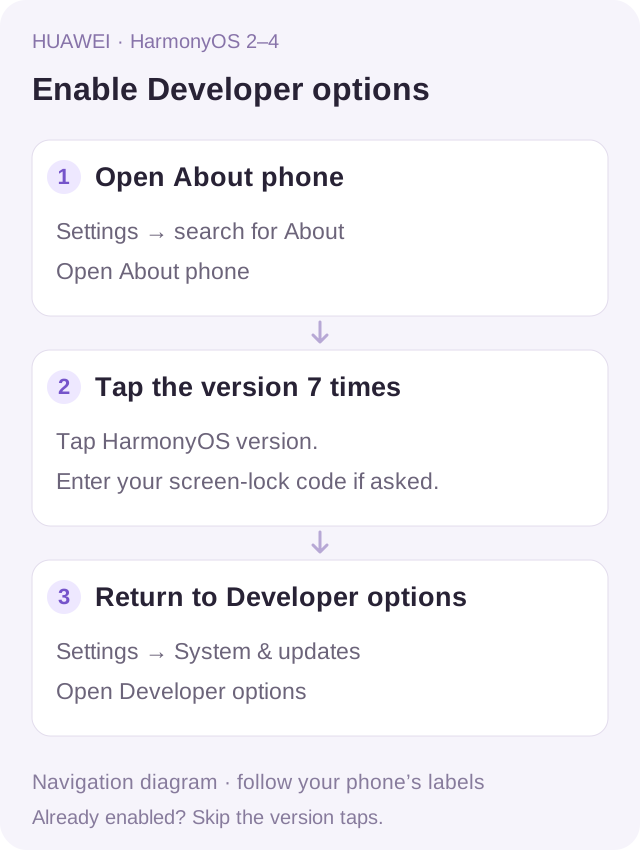
Navigation diagram: find the version, tap seven times, verify if asked, then return to Developer options. Enable USB debugging
Phone Settings → System & updates → Developer options
Open Developer options on your phone. Turn on USB debugging and the option to always show a prompt when USB is connected. Leave either setting on if already enabled. Follow any confirmation prompts on the phone.
Check the result USB debugging and the USB-connection prompt are enabled.
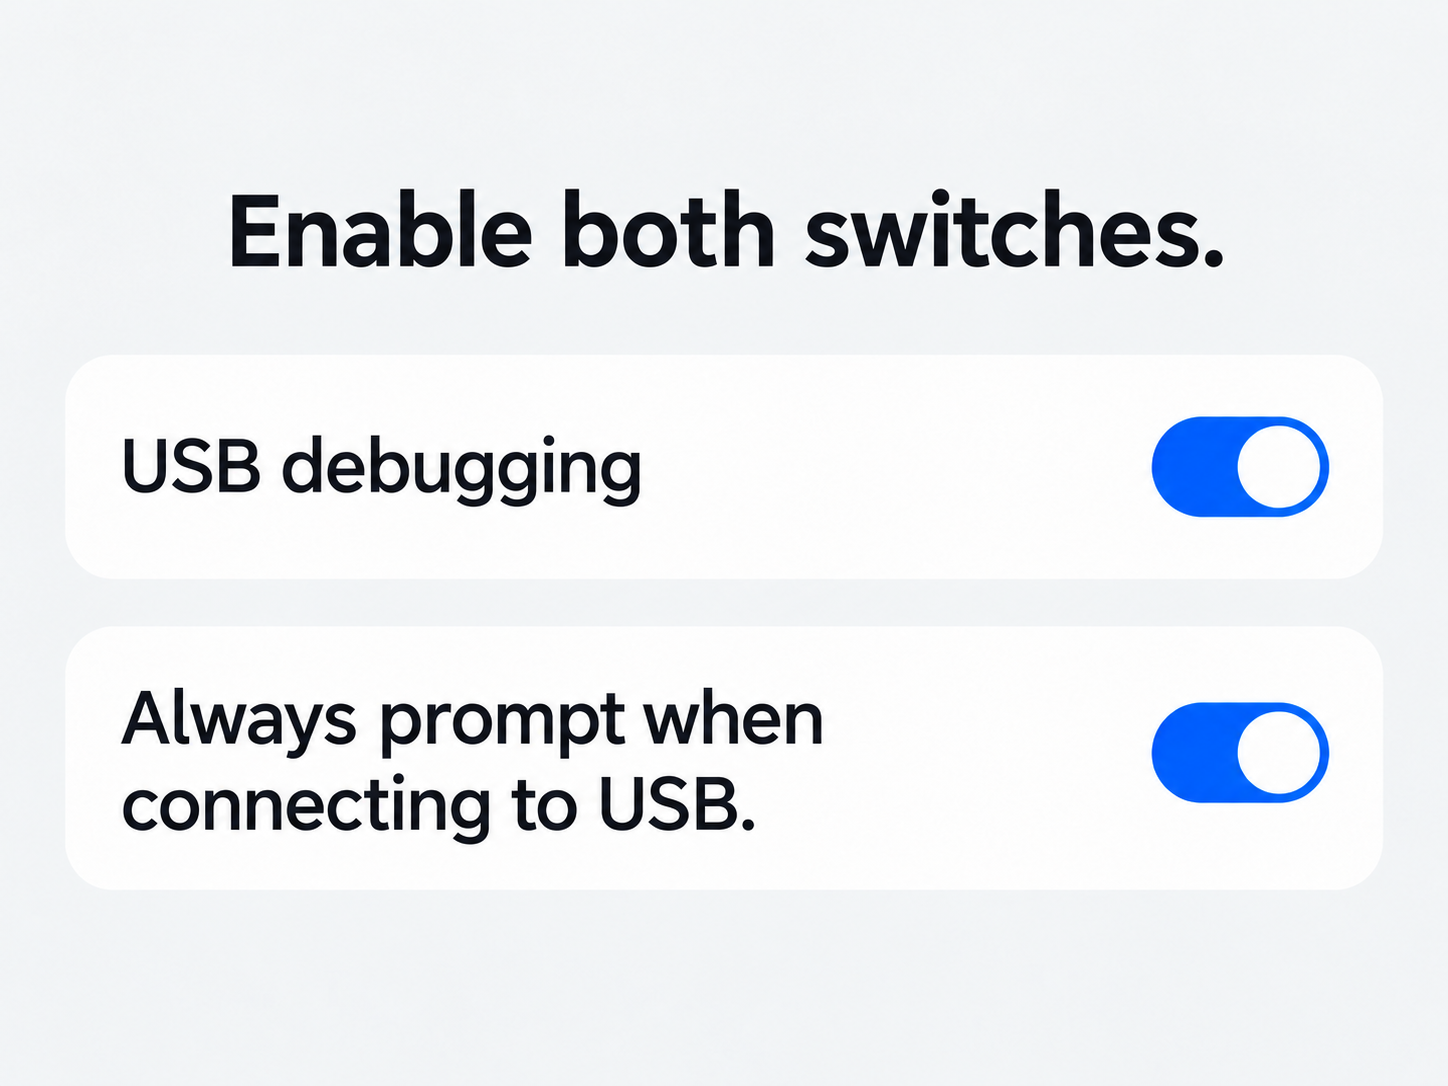
Enable USB debugging and the prompt shown when USB is connected. Connect the phone and choose file transfer
Phone USB connection options; Windows PC
Connect your phone to the PC with a USB cable and choose Transfer files on the phone. If it asks to allow USB debugging, check that the request is from the PC you are using before allowing it. Wait for the PC to detect the phone.
Check the result Transfer files is selected and any USB debugging request has been approved.
Selecting Transfer files and allowing USB debugging are separate actions. Charging alone does not show that the connection is ready.
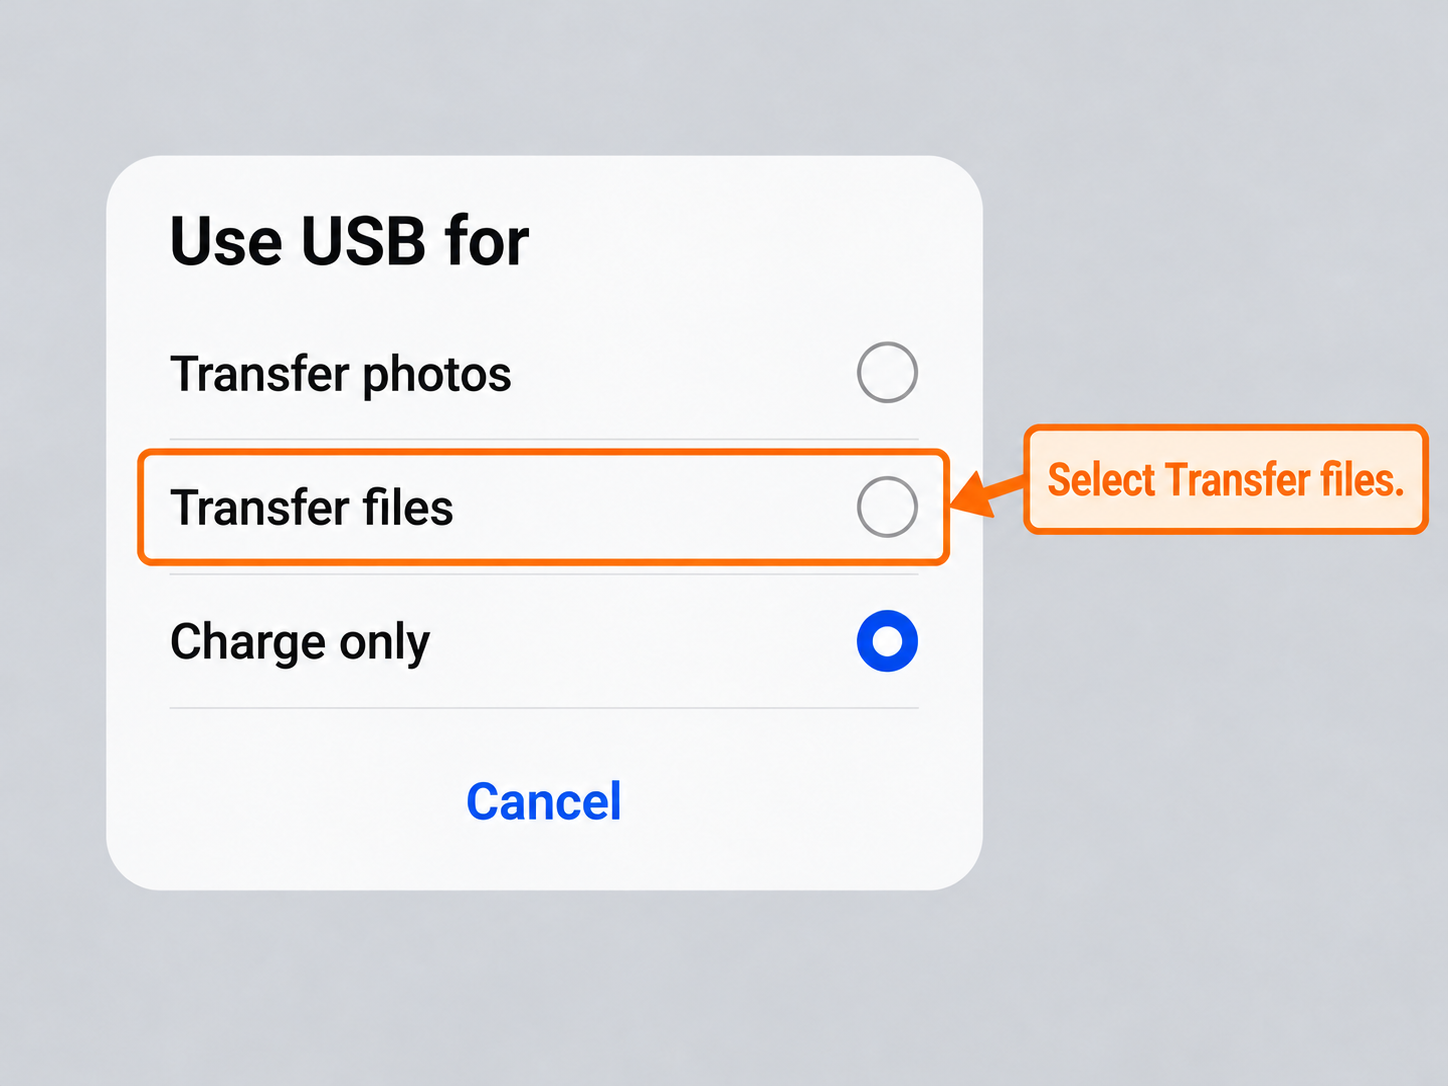
Charge only is selected. Tap Transfer files to change the connection mode. Download the PC setup tool
Windows browser or existing Downloads folder
On your PC, use the link below to download adb.zip. If you already have the same package, you can use it. Extract the full package before running it; do not run it from inside the archive window.
Check the result The complete adb.zip file is available on the PC.
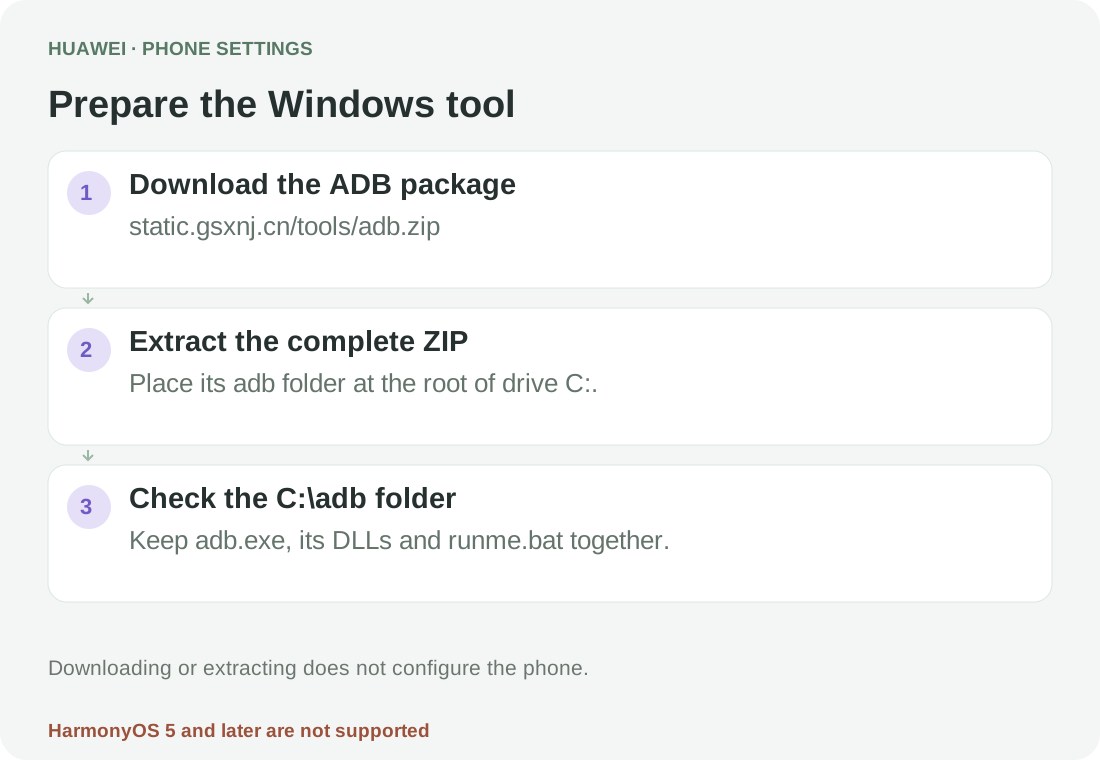
Download and save the complete adb.zip archive. Extract the tools and run runme.bat
Windows File Explorer → C:\adb
Extract the full package to drive C so that both adb.exe and runme.bat are in C:\adb. Open this folder and double-click runme.bat. Keep the USB cable connected and watch the command window. If the phone asks for USB debugging permission, approve it on the phone first.
Check the result The script detects the device and displays command output.
This tool changes your phone’s system settings. If it reports an unauthorised device, no device or a permission error, check the USB connection, debugging permission and whether your phone supports this method. Opening the command window does not mean setup succeeded.
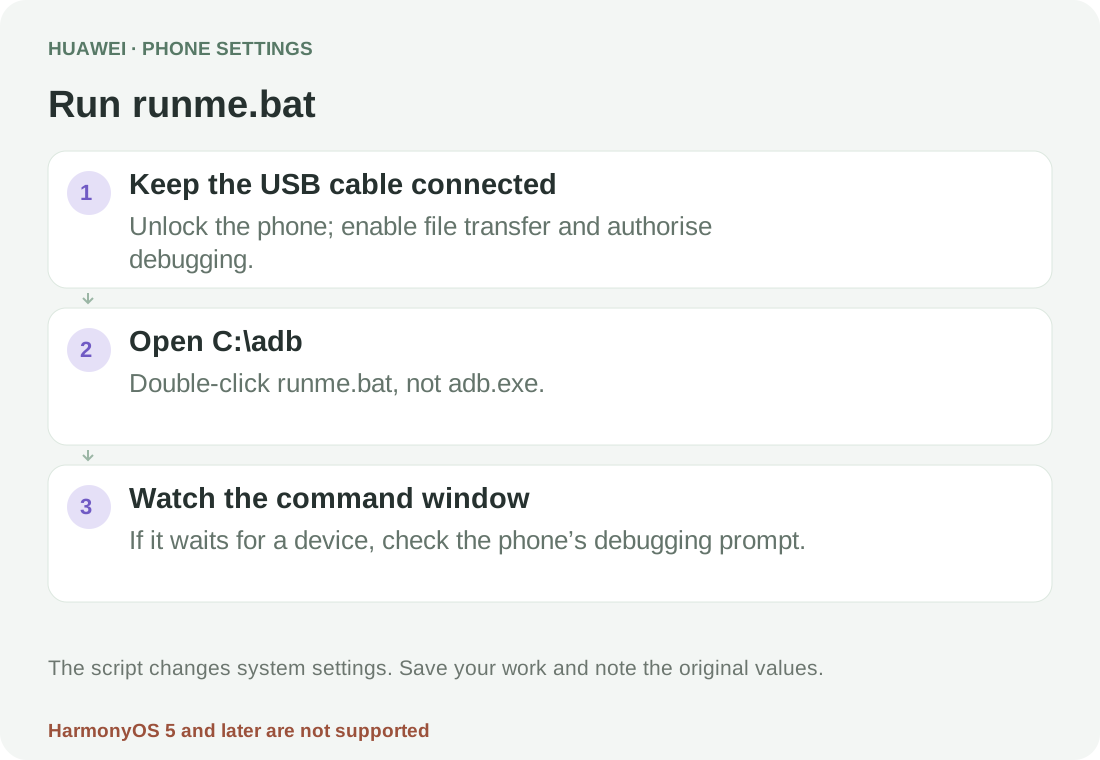
Extract the complete archive to C:\adb, then double-click runme.bat. Check the result, then try your virtual machine
Windows command window; the original task on the phone
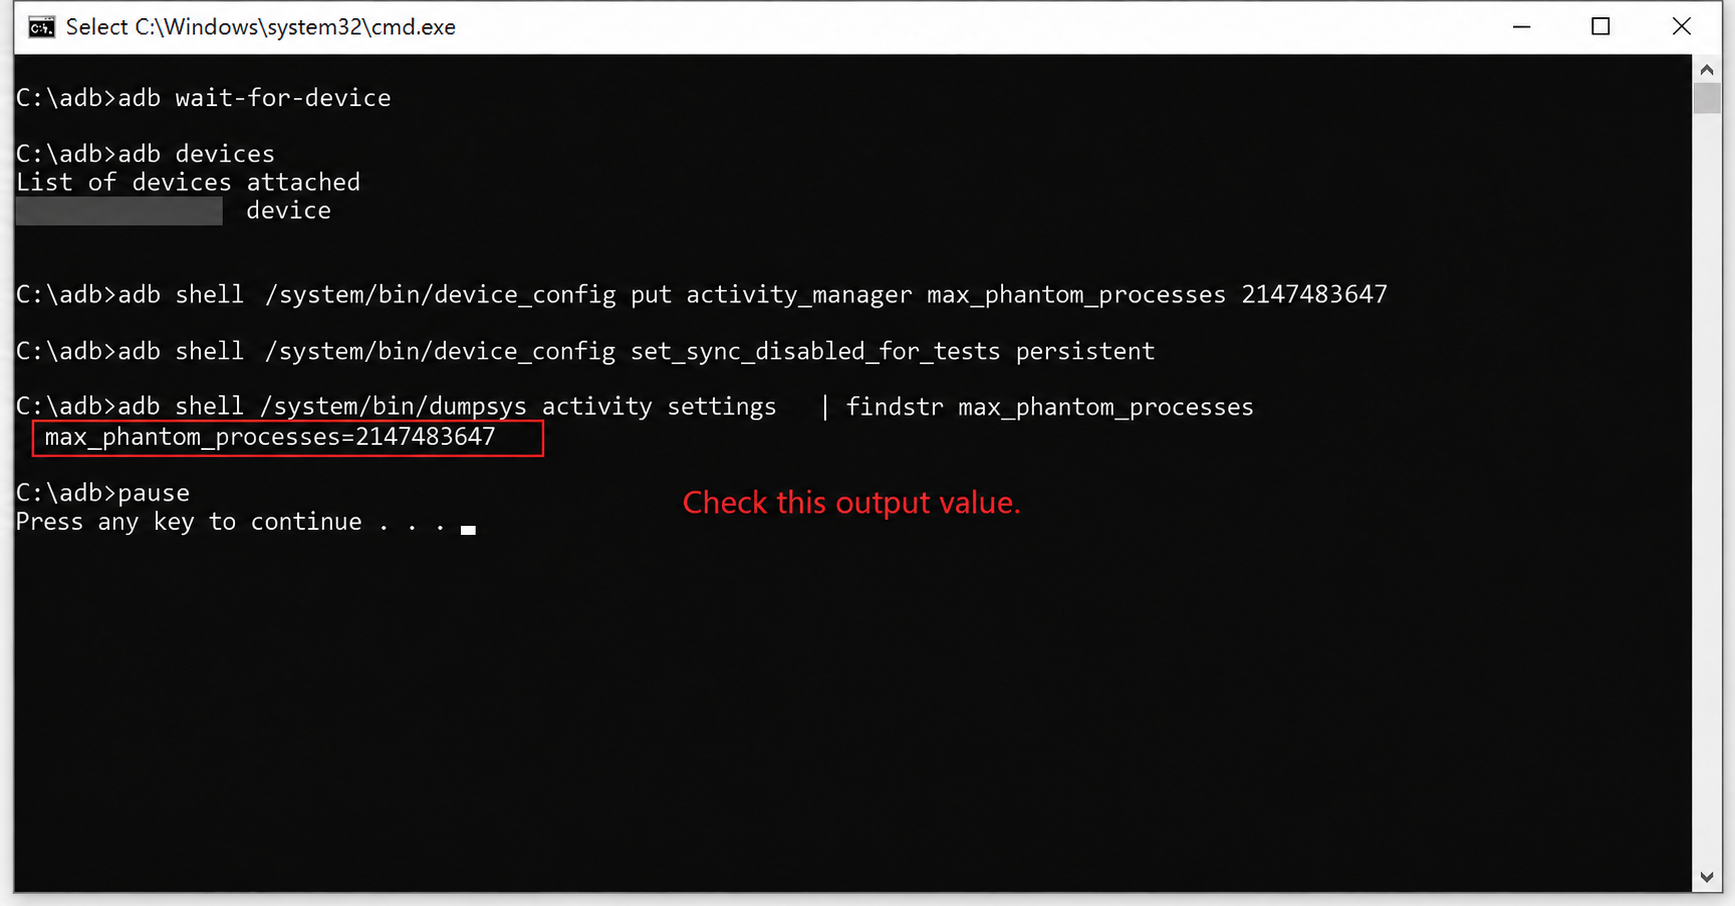
Look for max_phantom_processes=2147483647 in the command window and check that the earlier commands show no errors. Then start your virtual machine and the app you want to use. Leave VPhoneOS for a while, return, and check whether the task continued, the network worked and the app restarted.
Check the result The command output includes max_phantom_processes=2147483647.
Check this value again after updating or resetting your phone, or changing the related settings.
Frequently asked questions
Can I use this on HarmonyOS 5 or later?
No. VPhoneGaGa / VPhoneOS does not support HarmonyOS 5 or later. A different script or debugging switch does not change that. This guide is only for the older systems described above.
What if it waits for a device or reports an error?
Check the USB cable, whether Transfer files is selected, and whether USB debugging was allowed. If an error remains, setup has not succeeded. Do not reinstall VPhoneOS or clear its data to fix this. Stop if the method does not apply to your system.
How do I disconnect or restore the old settings?
After checking, disconnect the USB cable. If USB debugging was originally off, you can turn it off again. This does not undo the tool’s changes to system settings. To restore those settings, you need their original values and the tool provider’s instructions for your system.